Euro Cuisine YM100 Automatic Yogurt Maker Review – The Best Yogurt Maker for Home Use
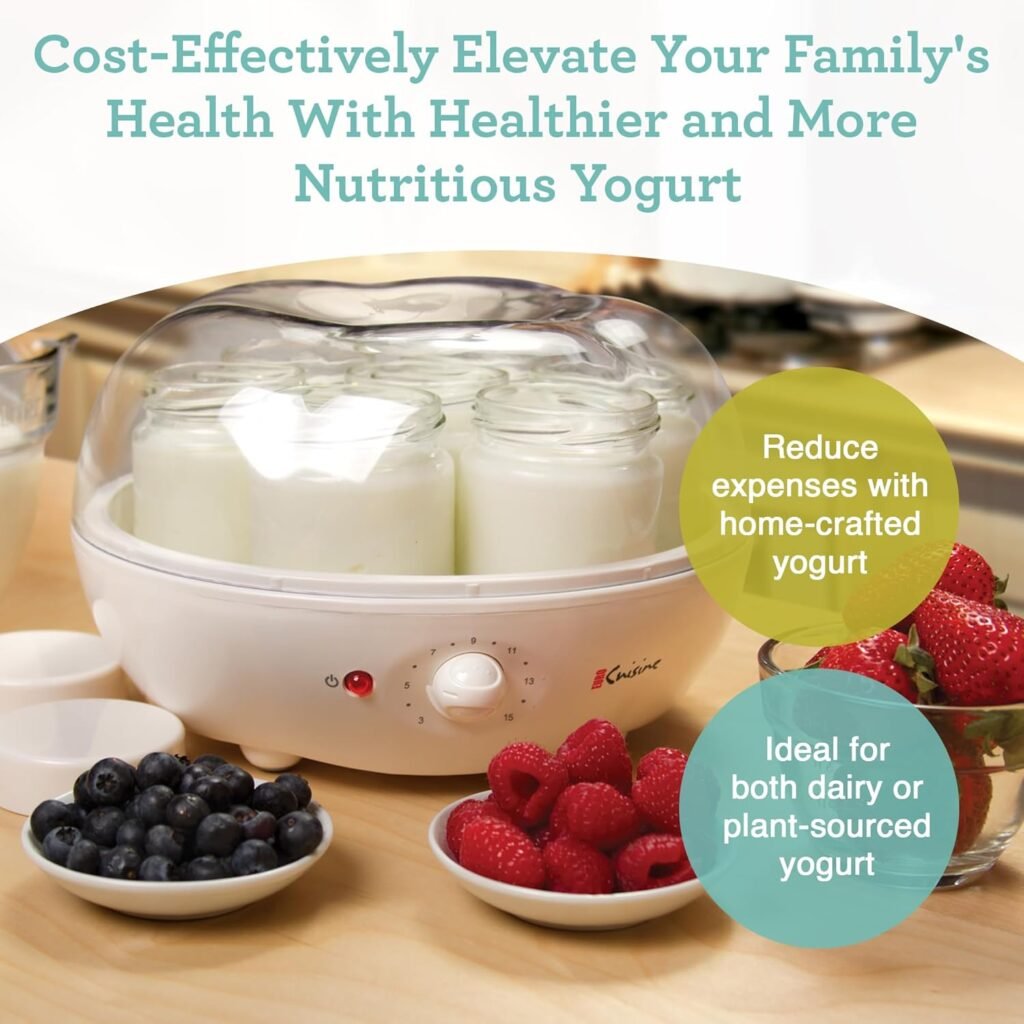
The Euro Cuisine yougurt maker is an excellent choice if you’re looking for an easy and cost-effective way to make fresh, homemade yogurt. This best yogurt maker machine is designed to help you create delicious, preservative-free yogurt with minimal effort. With a temperature-controlled yogurt maker and an automatic timer, you can enjoy healthy, probiotic-rich yogurt without any guesswork. But is it truly the best yogurt machine for your needs? Let’s dive into the details.


#ad
Key Features of the Euro Cuisine YM100 Yogurt Maker
1. Effortless Yogurt Making with Adjustable Timer & Auto Shut-Off
The Euro Cuisine yogurt maker with adjustable time offers a 15-hour timer, ensuring your yogurt is fermented to perfection. Once the cycle completes, the machine automatically shuts off, taking the hassle out of the process. This makes it one of the top-rated yogurt makers for convenience and ease of use.
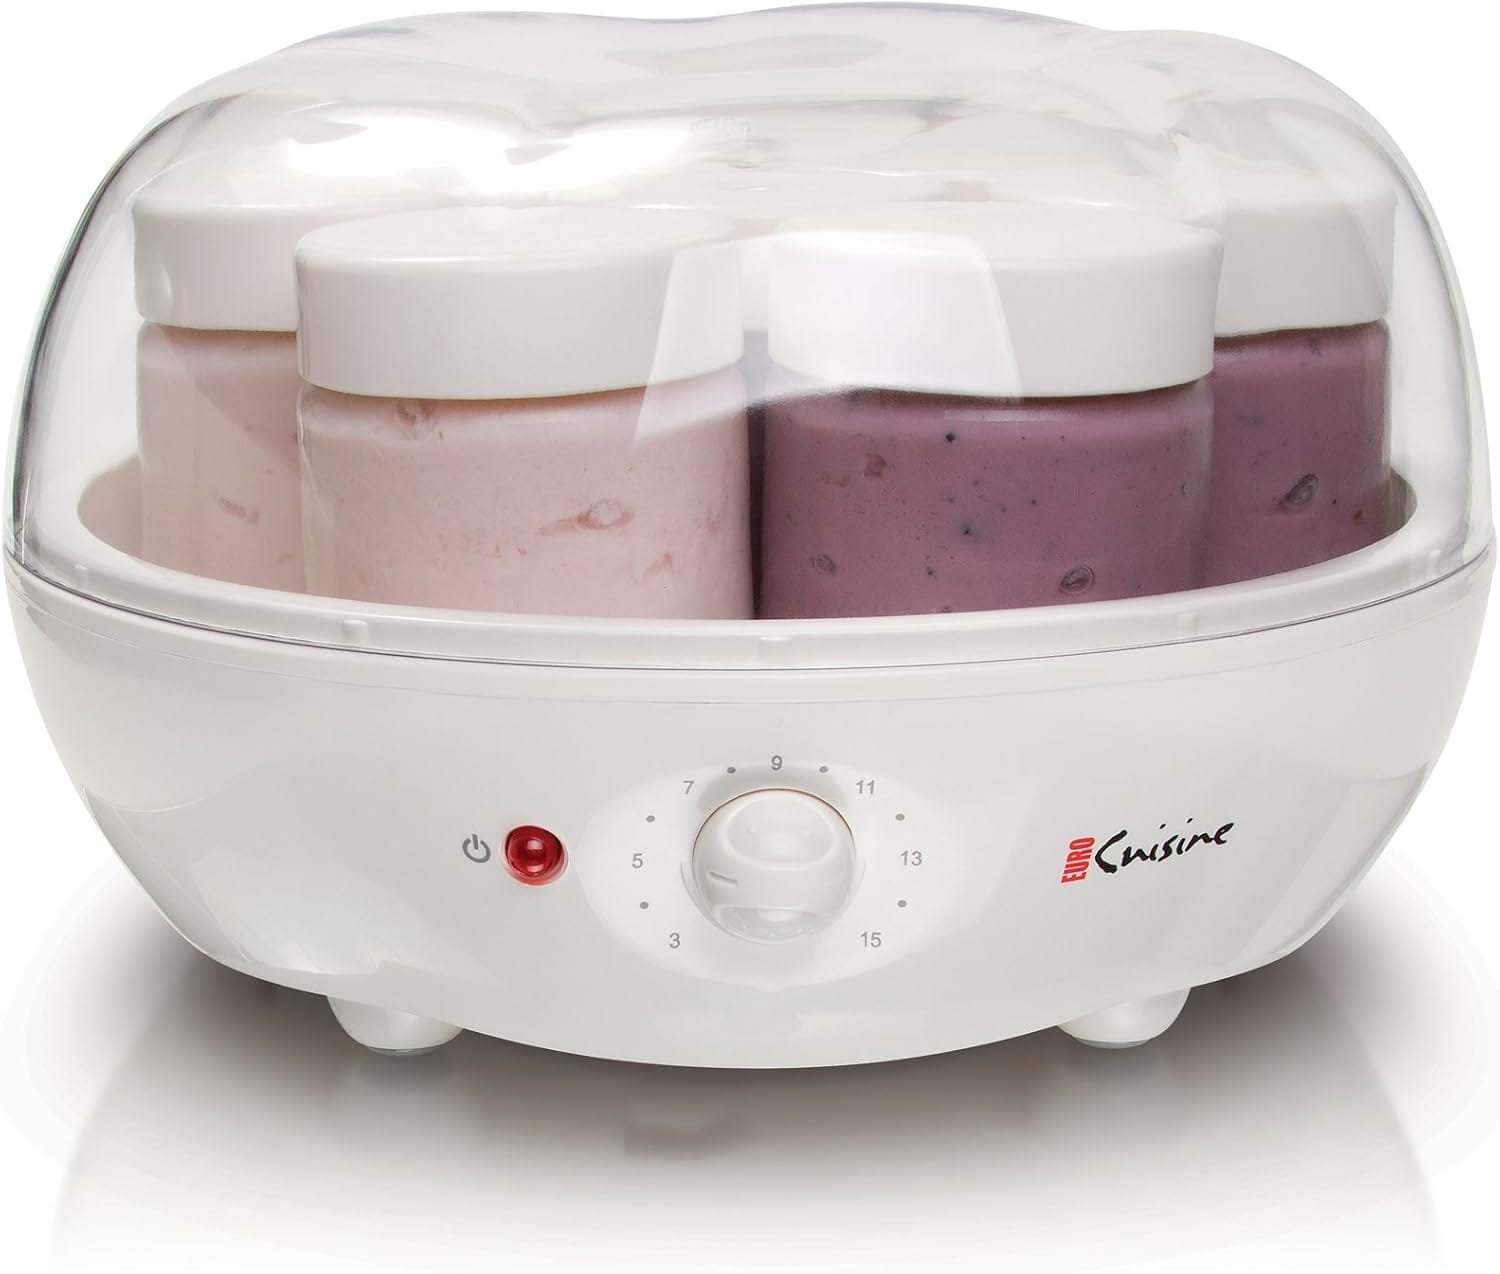
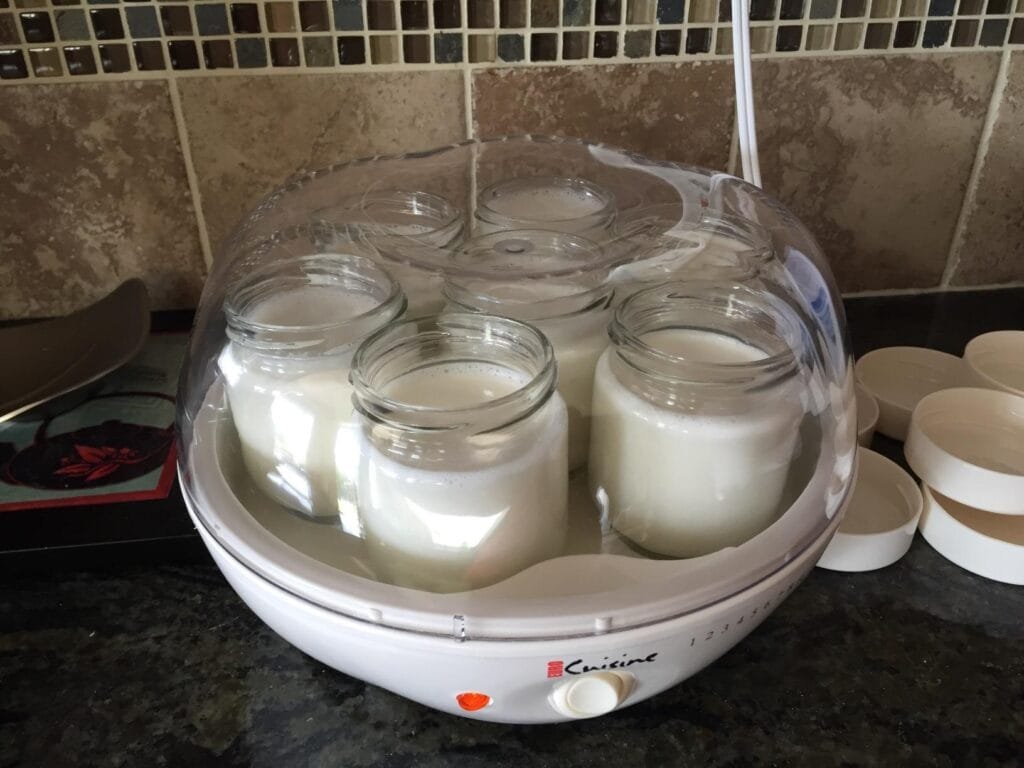
2. Seven 6oz Glass Jars for Multiple Flavors
One of the standout features of this Cuisinart yogurt maker alternative is the inclusion of seven 6oz glass jars, allowing you to make different flavors simultaneously. The best yogurt makers should offer flexibility, and this model delivers by letting you experiment with dairy, plant-based, and flavored yogurts all at once.
3. Temperature Control for Perfect Results
Unlike some models that lack precise settings, this temperature-controlled yogurt maker ensures your yogurt is fermented at the ideal temperature. Whether you prefer a tangy Greek yogurt or a mild, creamy consistency, you can achieve your desired texture without constant monitoring.
4. Compact, Easy to Clean, and BPA-Free
The best yogurt maker with temperature control should also be user-friendly. The compact design takes up minimal counter space, and all jars come with BPA-free lids, ensuring airtight storage. Plus, the jars are dishwasher-safe for hassle-free cleanup.
Pros and Cons Based on Customer Reviews
What Users Love
✅ Simple and efficient – Many users love how easy it is to operate, making it one of the best yogurt makers for beginners. ✅ Great for multiple batches – The ability to make different flavors at once is a significant plus. ✅ Compact size – Unlike bulky yogurt machines, this model fits easily on any kitchen counter. ✅ Quality glass jars – Users appreciate the durable, reusable glass jars with airtight lids.
What Could Be Improved
❌ Timer issues – Some users reported that the timer may need to be adjusted manually for optimal results. ❌ Watery yogurt – A few users mentioned that the yogurt sometimes turns out watery, but this can often be resolved by changing the fermentation time or adding dry milk.
Euro Cuisine Yogurt Maker Instructions: How to Use It
- Prepare the milk – Heat your milk (dairy or non-dairy) to 180°F, then let it cool to 110°F.
- Mix in yogurt starter – Add a small amount of store-bought yogurt or a probiotic yogurt culture.
- Pour into jars – Distribute the mixture evenly into the seven 6oz glass jars.
- Set the timer – Choose your desired fermentation time (typically 8-12 hours for regular yogurt, up to 15 hours for Greek-style yogurt).
- Let the machine do the work – Once the cycle completes, refrigerate the yogurt for a few hours before enjoying it.
Is the Euro Cuisine YM100 the Best Yogurt Maker for You?
If you’re looking for an easy-to-use, top-rated yogurt maker, the Euro Cuisine yogurt maker is a fantastic investment. It simplifies making fresh, homemade yogurt while ensuring high-quality results. Whether you’re a beginner or a yogurt enthusiast, this best yogurt machine is a reliable option for crafting healthy, probiotic-rich yogurt at home.
What are people saying:
Positive review:
I bought the Euro Cuisine YM80 yogurt maker about 9 months ago. I wanted to really try it out before leaving a review. Disclaimer – I never made yogurt before owning this yogurt maker so I can not compare it to other yogurt makers or making it in a oven or crock pot. I love this yogurt maker and have been using it once to twice a week since I got it. I find that whether or not homemade yogurt is cheaper than store bought depends on your ingredients that you are using ie: organic milk vs. regular store brand milk. I was eating brand-name and store-name yoghurt daily, and it was getting costly. This really cuts down on the cost and tastes a lot better. (Partly tastes better since I am not using skim milk – I use either whole milk or 2% and it is wonderful.)
The instructions with the yogurt maker are not necessary perfectly clear for a beginner. The area I found to be a little confusing is how long to incubate the yogurt. Example – Softer yoghurt without boiling times: 8 hours for whole milk, 10 hours for 2%, and up to 12 hours for skim milk. Then, under instructions, it states: set time for yogurt – 8 hours for whole milk, etc. They do not give any time difference between using boiled milk and non-boiled milk. So that being said, I decided to cook my milk and use the times listed: 8 hours whole, 10 hours 2% and 12 hours for skim. (I haven’t bothered making the skim, so I can’t say if that is accurate.)
The yoghurt maker has an hour’s reminder on the device. It does not turn off the yoghurt maker, and I am not sure if it was supposed to move during the incubating process, but mine never did anything. I don’t bother with it. I just put a little sticky note in front of my shut off time device and set an alarm on my phone.
I have been making yoghurt with a 6 oz container of plain yoghurt from the store. Then, I make the next batch with a jar of my plain yogurt. I tried using a probiotic capsule, but that was a disaster, and I ended up throwing out that batch. I have not tried using the freeze-dried yogurt starter yet. I just priced it out and bought some that would equal $0.70 a batch, and I could reuse my yoghurt at least once and maybe twice. I will update my review later after using it.
After having this for a while, I noticed I could not find any recipes for Coconut Yogurt, which was my favourite. I came up with a recipe that has consistently delivered excellent results
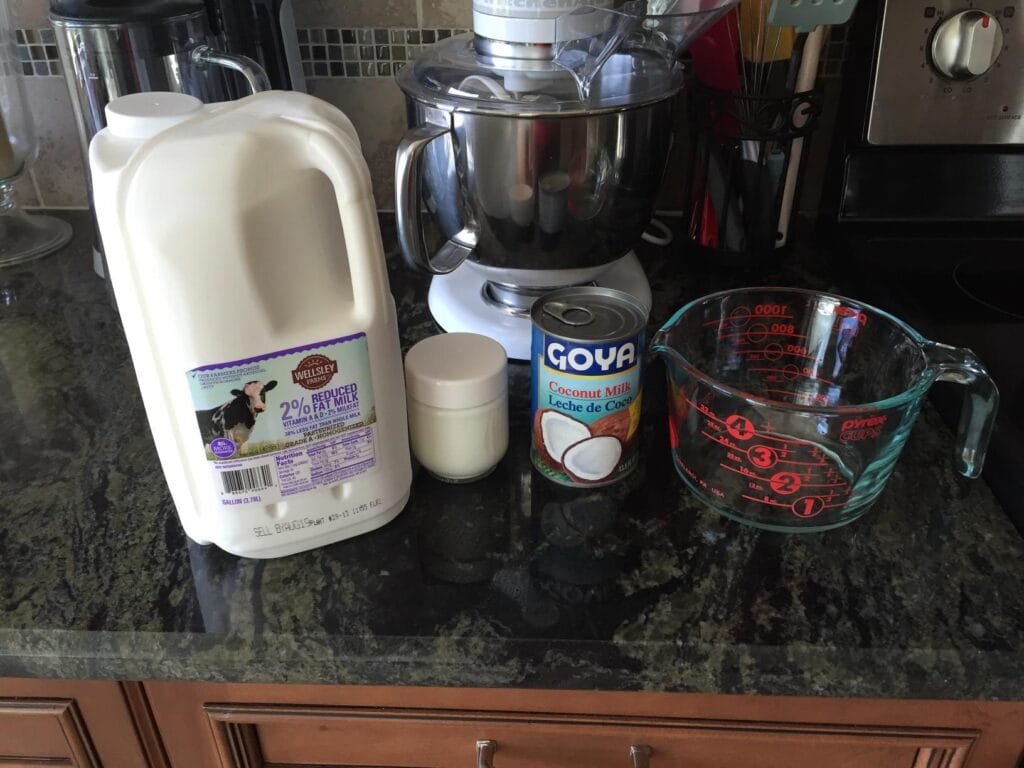
Coconut yoghurt
• 1 13.5-ounce can of Coconut Milk (I have used Goya)
• Whole milk or 2% milk ( 4 cup measuring cup filled with contents of coconut milk – add the milk so that it comes up to the 4 cup point)
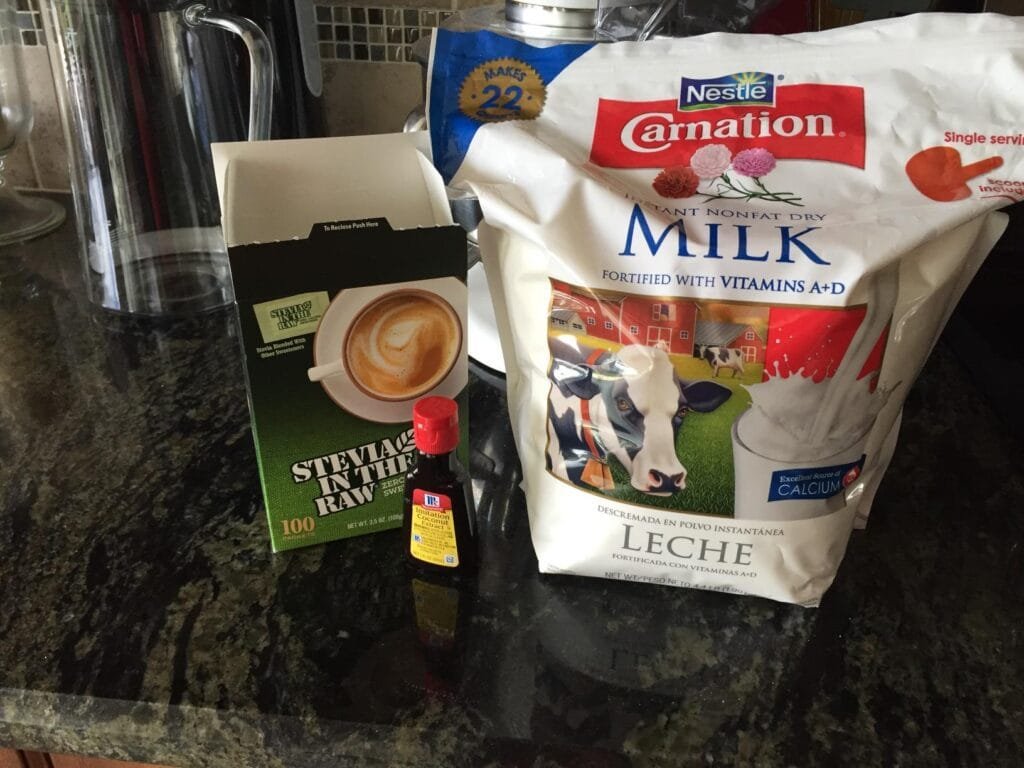
• 1 scoop (1/3 cup) of dried instant non-fat milk (I have used Carnation milk)
• 6 oz container of plain yoghurt or yogurt starter
• ½ teaspoon of coconut extract
• 8 packets of Stevia in the Raw (or sugar)
Add coconut, regular, and dried milk to the saucepan and heat until the milk starts boiling and climbing up the pot. I place the pot in the sink with an ice bath to cool down faster. Cool to 95 degrees F (stir a few times to reduce hotspots – use a thermometer to check the temp). Then, pour some of the liquid into the 4-cup measuring cup and add your starter. Blend til smooth and add back to the pot. I then add the coconut extract and sweetener. I put them in the Euro cuisine containers and placed them in the yoghurt maker. Incubation times depend on the milk used – Whole milk is 8 hours, and 2% is 9 hours. (The fat content in coconut milk is similar to that of whole milk, so I used that as a judge when deciding the times.)

#ad
Negative review:
Review 1: I purchased this unit and have made 2 batches of yogurt with it. It works, and I have had no problems with it.
I recommend that you DO NOT purchase one. Read why…
I used to have an old Salton unit that I used every day, and I wanted to start making fresh yogurt again, so I purchased this one. It was highly recommended.
This unit makes almost 1 quart, split into 7 cups.
The cups are tiny. They are not smooth inside, so they are difficult to clean—they require a bottle brush and a lot of work to get clean. They are like baby food jars, with an indention around the bottom and an overhanging rim. They are hard to explain and hard to clean, and they leave too much waste in the jar.
It takes about 12 hours to make a batch. That’s a long time.
You have 2 good choices for making the yoghurt…
1 way is to use hot water (100degrees F), dry milk powder (1 1/4 the amount to make regular milk), and some plain yoghurt from a previous batch (a couple of tablespoons will do.) Stir and or shake. Pour into the cups, and put into the turned-on machine. I like to have the lids on the jars (loosely), but they don’t fit very well. Another review says to put a cloth under the cups, plastic wrap over the jars, and then the machine’s top. Then, wait 12 hours. Chill, add fruit when it’s chilled.
The other way is to heat milk to 180 – 200 degrees F, cool it (putting the pan in cold water in the sink and stirring works quickly), and add plain yogurt to start (a couple of tablespoons is plenty, from a previous batch or fresh from the store—both work fine). Then pour into cups… blah, blah, blah … wait 12 hours, cool, presto—more yogurt.
Oh, yeah, a meat thermometer works great for knowing the temperatures.
This is the easier, and in my opinion, THE WAY BETTER WAY -> -> ->
Now, it turns out (Thank you, interweb searcher 🙂 – that you can do either of these processes and make larger quantities for about the exact energy cost.
I like the second process – heat the milk (to 180-200F), cool (to 118F), add a bit of yoghurt to start, and pour into QUART Wide mouth Mason Jars (how many do you want? 2, 3, 4? 10? , put the tops on loosely, put them into the oven that you preheated to 200F, then turned off while you were warming the milk. Put a whole jar of HOT water into the oven with them (To keep them company? Not really, to give more thermal mass so they stay warm).
To make the yogurt super thick, I stir each jar for about 2 hours and turn on the oven (at a 200-degree setting) to warm it up a bit (for a minute or two only). Then, I replace the HOT water in the water Jar, make sure the oven is really turned off, and wait another 2 hours.
After 4 hours (from when you first added the started yoghurt), put the mason jars of yoghurt into the fridge.
Spoon out some of the best yogurt you have ever had when they are chilled. No fuss, no muss, no unhealthy additives, just pure yummy.
Enjoy.
Oh, sure, there are other ways, and the machines work, but this is my review, and this is MY opinion, and this WORKS GREAT, for me.
#ad